In the last post I described the steps needed to setup an internet connection on a BeagleBone Black through a USB connection to a computer. In this post, we’re going to cut the cables and go wireless, giving the BeagleBone Black Wifi network connectivity.

Giving the BeagleBone Black Wifi capabilities has several advantages. I will be able to SSH to the device over my local Wifi network, which means software updates can be done over the air. It also opens up the possibility of sending and receiving real-time data such as maps generated by Neato LIDAR data. Another cool idea would be to route Siri through a proxy in order to implement additional voice commands that could be used to control/talk to the BeagleBone Black (or whatever robot it is part of). But I’ll save those ideas for future blog posts.
Prerequisites
Before going any further, it is important to note that this post assumes that the steps in the previous blog post to add wired network capabilities to the BeagleBone Black have already been done. After that, git will need to be installed on the BBB:
ntpdate -b -s -u pool.ntp.org
apt-get update && apt-get install git
The first command ensures the system date and time are set correctly.
Equipment
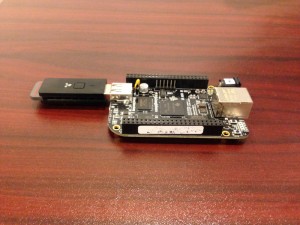
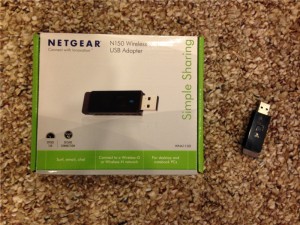
BeagleBone Black boards don’t have the ability to connect to a WiFi network built-in, so a USB WiFi adapter will be necessary. Use a WiFi adapter from this list for best results. I used a NETGEAR N150 Wi-Fi USB Adapter (WNA1100).

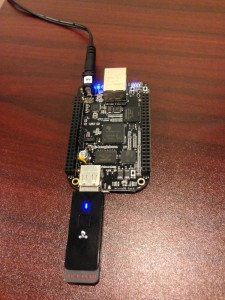
Eventually I will power the BBB with batteries, but for now I am using a 5V/2A power supply. Another reason for doing this is that I am not entirely sure if the USB connection could provide sufficient power to the WiFi adapter.

Turn off the BBB and plug in the adapter and power supply cord. At this point the USB connection will also be needed. Then turn the device back on.
BeagleBone Black Wifi Connection Setup
I have created a setup script to aid in the WiFi setup process, which can be found on GitHub here. This script also updates the system date and time, sets up a script to set the date and time when the system starts up, and updates the kernel to the latest 3.8 version before configuring the WiFi settings.
Clone the repository with the install script as follows:
git clone https://github.com/aschimp/t1-b
At this point the WiFi network SSID and password will need to be added to the settings.cfg file.
cd t1-b/setup
nano settings.cfg
Finally, run the install script. The system will reboot several times during the installation. Log messages after rebooting will be sent to the install_log.txt file in the t1-b/setup directory.
chmod +x *.sh
./install.sh
At this point the BeagleBone Black WiFi network connection should be fully functional. I had to check my WiFi administration interface site to determine which internal IP address was assigned to the BBB. Once I had this I disconnected the USB cable from the BBB and SSH’d back in using the new IP address. Finally, I ran a test using ping google.com to make sure that it truly had full internet access.
One final note: if SSH over WiFi is working, but pinging an external website is not, try running the following command:
echo "nameserver 8.8.8.8" >> /etc/resolv.conf
My T1-B GitHub repository contains the script used in this post to set up the BeagleBone Black Wifi connection, so feel free to check that out. It also houses a few other scripts for the BeagleBone Black, and I will likely continue to add any related scripts to that repository.
